

Well the MCD Shades are installed. The old pleated day/night shades are off, vacuumed, neatly folded and wrapped up ready for a new home. What does it take to do these yourself? Careful measuring, some time, patience, the right tools and a good helper. Susan was wonderful as usual. We make quite a team.
In order to replace your existing shades you need to remove them. The vertical side trim pieces get removed first In our coach they are held on with screws and a couple right angle brackets attached to the wall on either side of the window. If your coach has window sills there will be a screw up from the bottom through the sill into the vertical trim. Once all the screws are out move the bottom of the vertical trim towards the end of the sill and pull down to get it out.
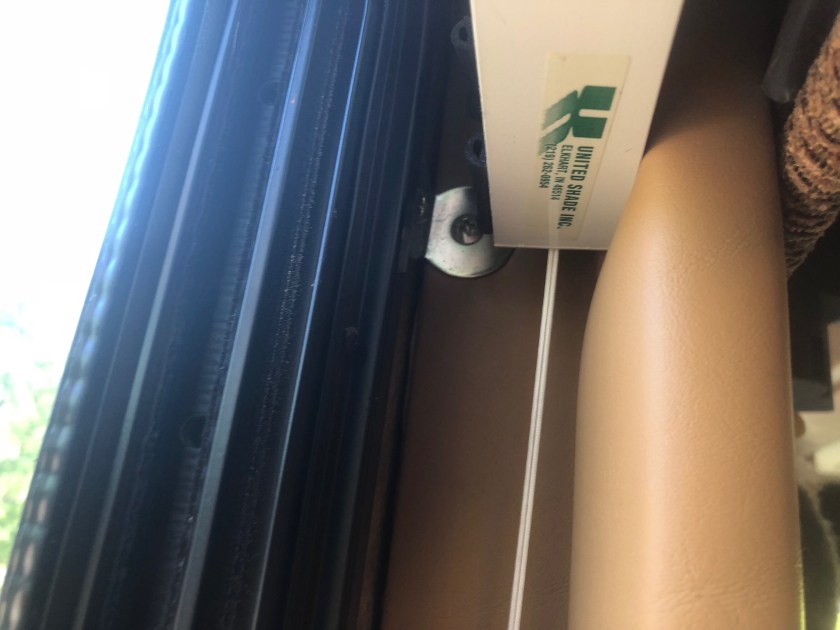
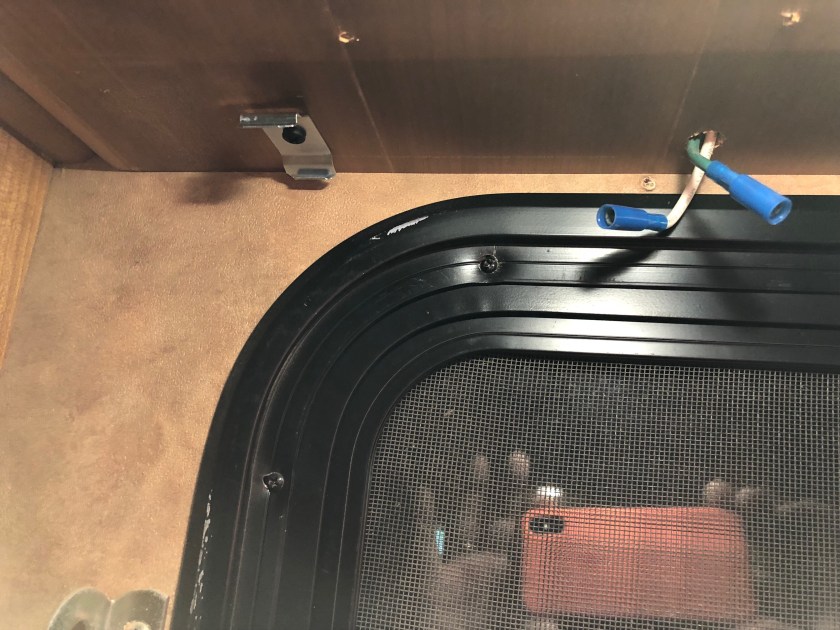
Vertical Window Trim Bracket
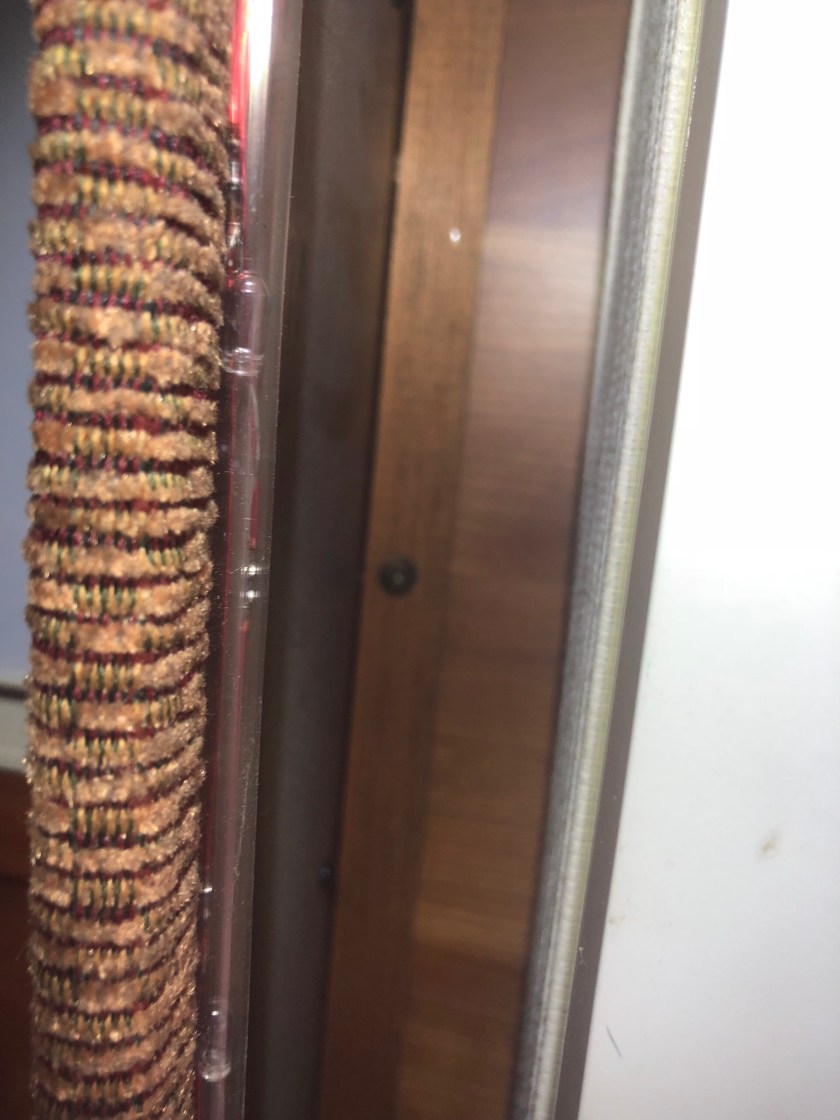
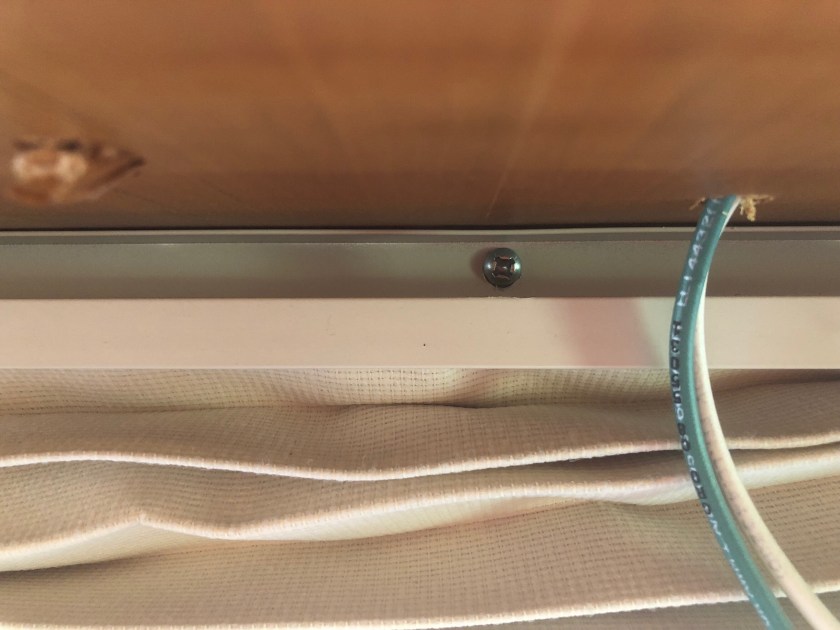
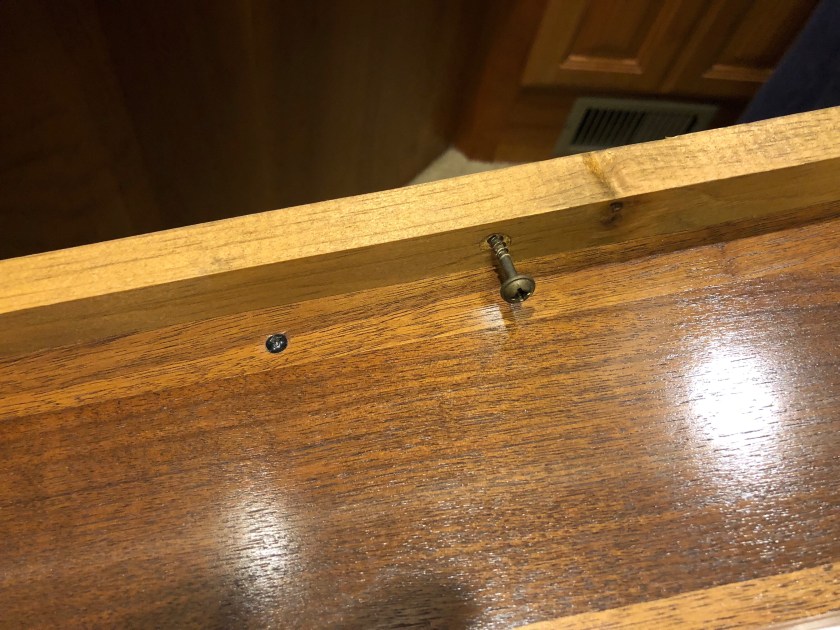
Window Valence Screws
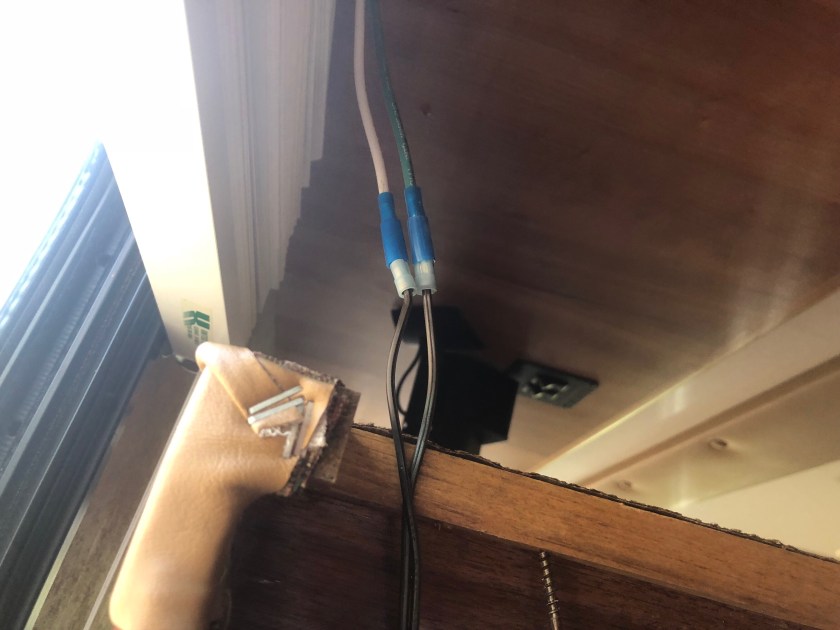
Window Valence Wires
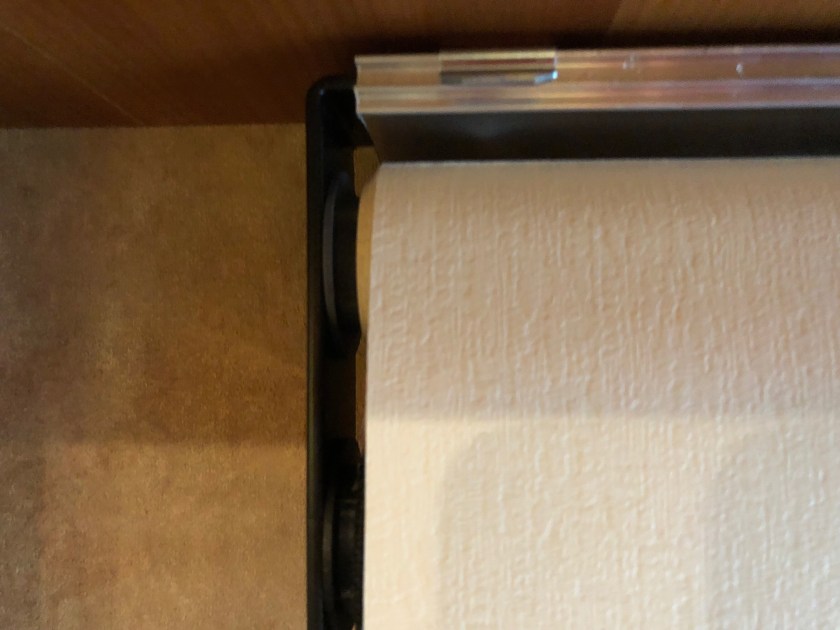
Remove the screws on the wind up spools at the ends of the cords near the bottom of where the pleaded shade descend. As soon as you loosen one screw the shade will come down all the way.
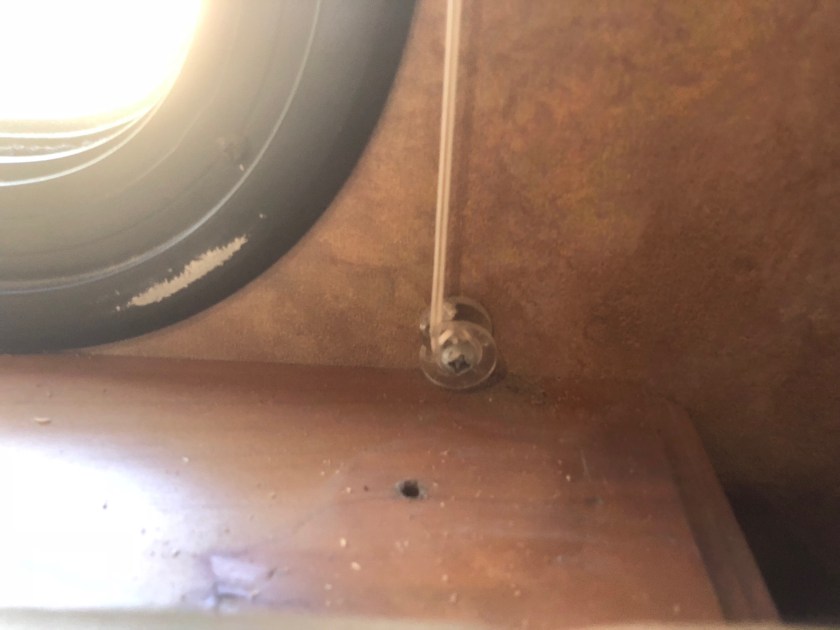
Spool Screws
On the very top edge of the pleated shade there will be three to six screws into the wall holding the shade in place.
Pleated Shade Screws
I have a 12″ driver extension and a six inch long phillips driver which helped get these out in the tight space under the overhead cabinets. Once removed we lowered the upper part of the shade, folding up the pleats and then put rubber bands around them to make them easier to handle.
The MCD Shades come with mounting clips that attach with screws into the bottom cabinets. This is about 1/4″ plywood but there is hidden space so you can use up to a 3/4″ screw. I used 1/2″ screws with a deep thread for holding strength in the plywood. If you strip a screw move the clip to a new location. You could disassemble all of the cabinet bottoms and add a reinforcement if you wanted. It is a lot of work.
Each clip is spaced out from the wall. MCD suggested 3/8″. This makes it easier to get the shades into the clips. We went for 1/4″ because the inside of our vertical trim is padded and the padding reduces the available space to the shade. Make each clip as uniformly spaced from the wall as possible. Misaligned clips make the shade almost impossible to get into the clips.
Each shade needs one clip about one inch in from each end of the shade and then more spaced in between depending on the length of the shade. MCD sends plenty of clips. Our biggest shades needed four, there were enough clips to have done six. The more clips there are the harder it is to get them all lined up and clipped into place.

Clip Layout
Clip Installed
Shade Mounted to End Clip

Shade Mounted to Middle Clip
The shade top bar gets set in the rear part of the clip and then rotated towards the front and clipped into the front part of the clip. It is quite positive, you will need a flat screwdriver to undo it.
Shade Installed, Ready for Trim
Reinstall the top valence. Start the screws first before you do. Leave one screw sticking out just a bit to help line it up where it was. Connect the valance lighting wires, test to make sure they work. Push the wires back up into the cabinet bottom and tuck the remaining wires out of the way as best you can. Hold the top valence in place, line up the screw with a hole and screw it back up. a long screw bit and a good flashlight are essential here.
Reinstall the Top Valence
The MCD Shades need about 2″ minimum clearance so that the shades operate properly. We mounted our shade clips a bit closer to the wall to gain some room. When we reinstalled the first set of vertical trim we discovered that the padded inside added just enough drag on the night time shade to slow it down and not roll up properly. Our fix was to add a 3/16″x 1- 1/8″ strip of wood wrapped with an attractive brown vinyl fabric that we have been saving for more than 35 years for just such a time. The strips got stapled to the wall side of the vertical trim, flush on the inside and about 1/4′ reveal on the outside. We think it looks pretty nice. The vertical trim went back in, plenty of room at the top where the valence is. At the bottom where the vertical trim sat on a sill I drilled a new hole for the bottom screw about 1/4″ further out than the original one.

Extension Added to Vertical Trim
The screen door sun shade mounts near the middle of the door and pulls up to clips at the top of the screen door frame. We have a door handle on the screen door (very useful) and wanted the sun screen to roll up behind it to keep the functionality. So a couple calls back and forth with MCD got is pretty close. It could have been maybe 3/8″ wider but the MCD tolerance is +/- 1/4″. It is in the tolerance but more towards the minus side. The roller mounts on a custom built cherry piece to get it where I wanted it.

Screen Door Pull Up Shade
If you have a slide the end window trim frames only have about 1-3/8″ clearance. Back to the shop to make new frames.
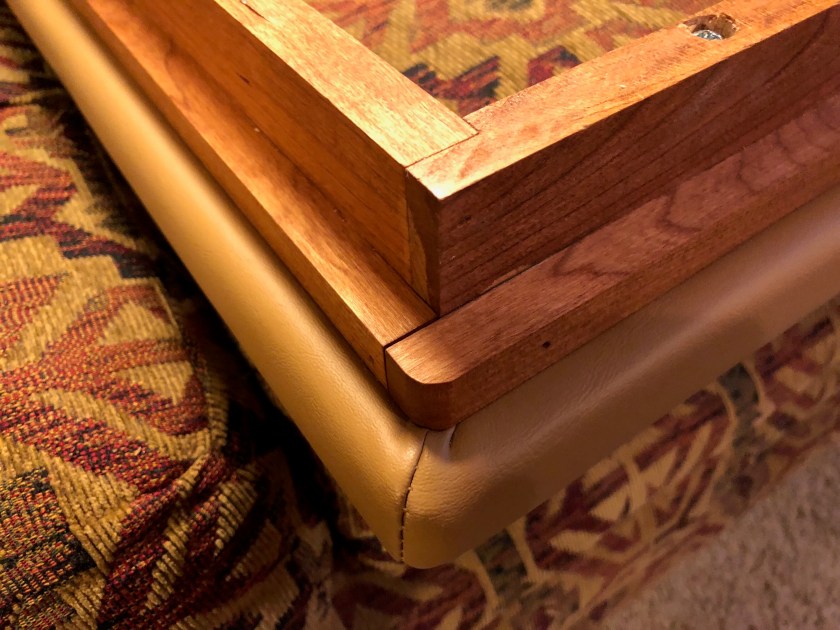
New Slide Window Frames
The existing face trim does not cover the shades when they are rolled up like the top valences so we added a vinyl covered panel to do that. We tried to get it to line up with the bottom of the top valences, we came close.
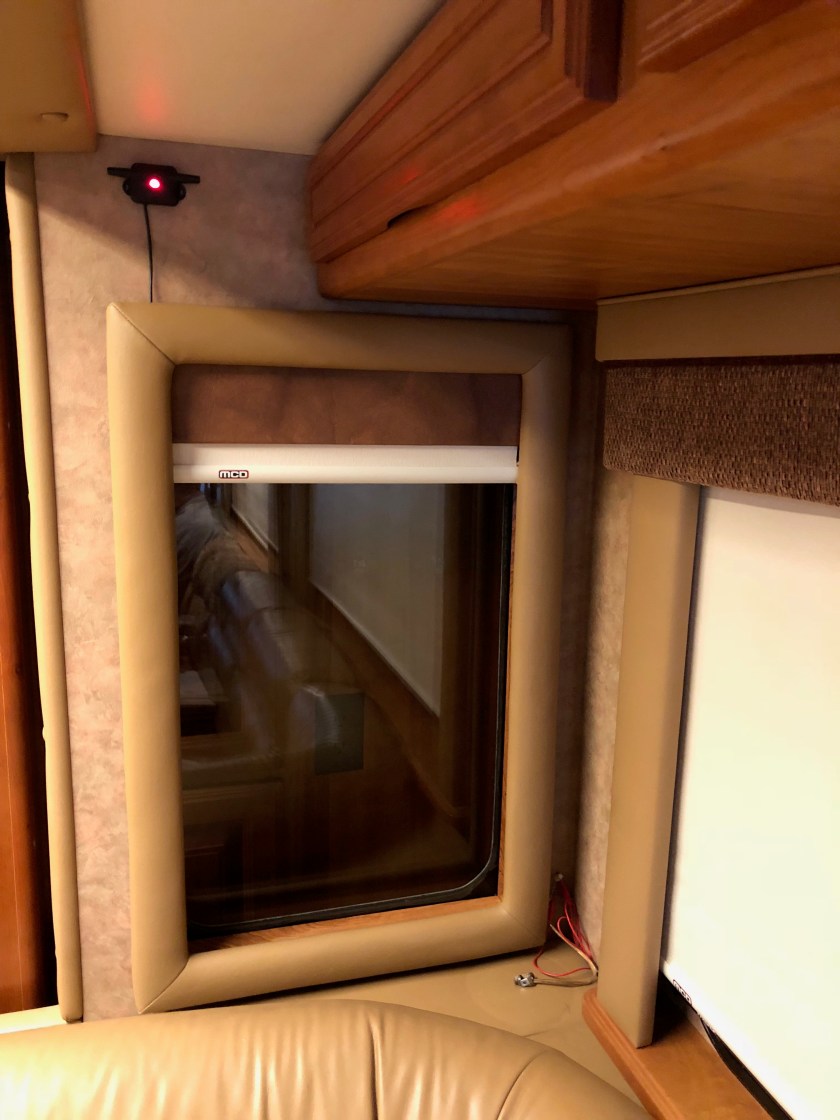
Slide Rear Window Trim
We will probably remake this face trim but not today. This is one shade where we think we should have ordered it with both the sun screen and the night shade rolling down towards the window side. It may have provided better night time coverage. I looked at these and I think I can change the night side to roll towards the inside. A call to MCD will answer that.
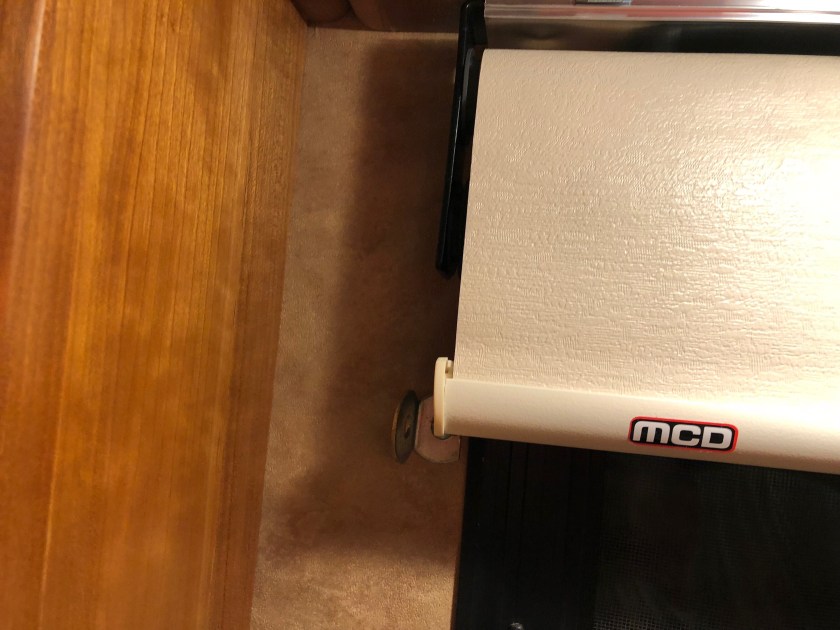
The kitchen shade has no trim and both shades roll to the window side.
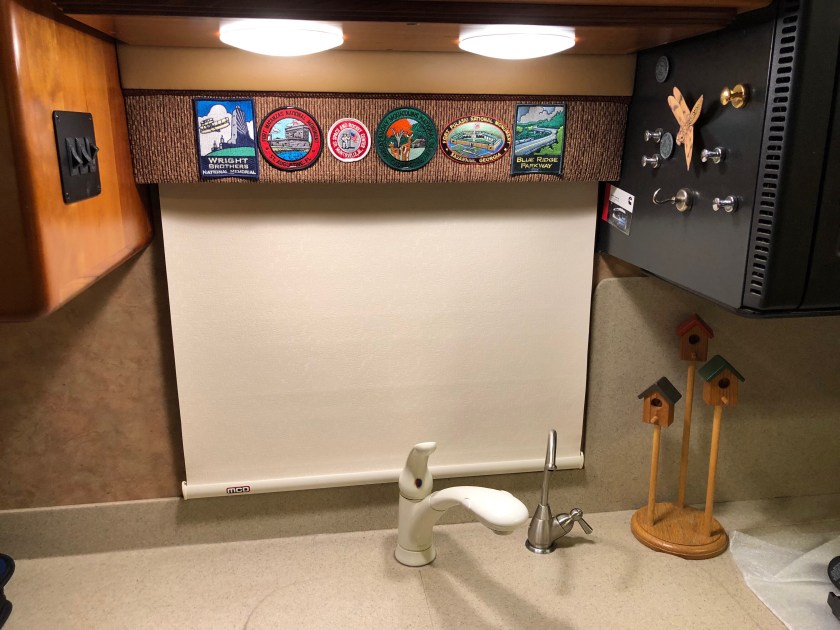
Kitchen Shade
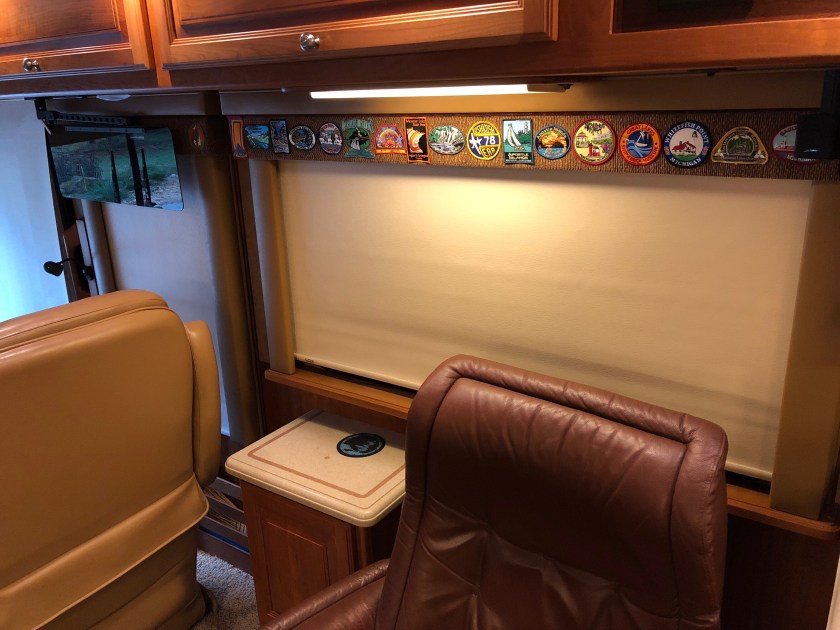
Slide Window Shades
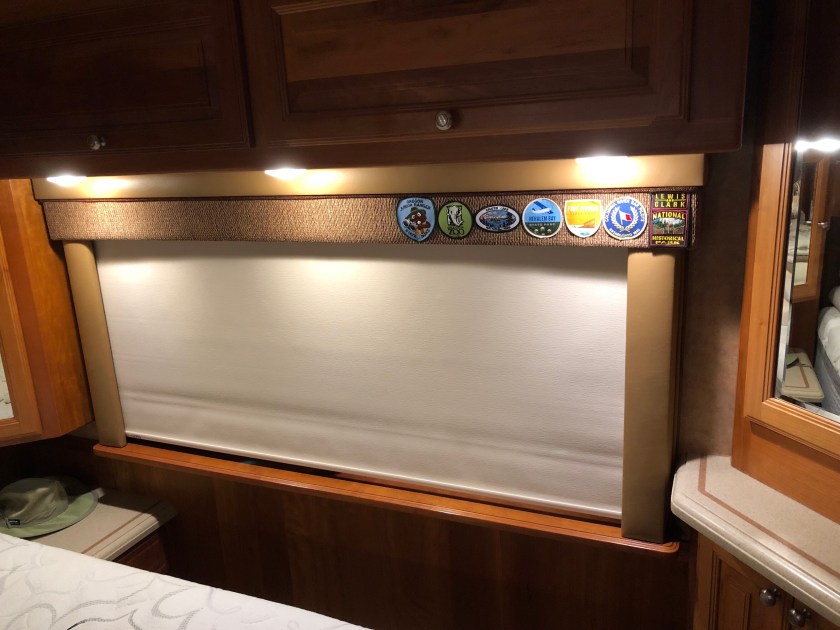
A Bedroom Window Shade
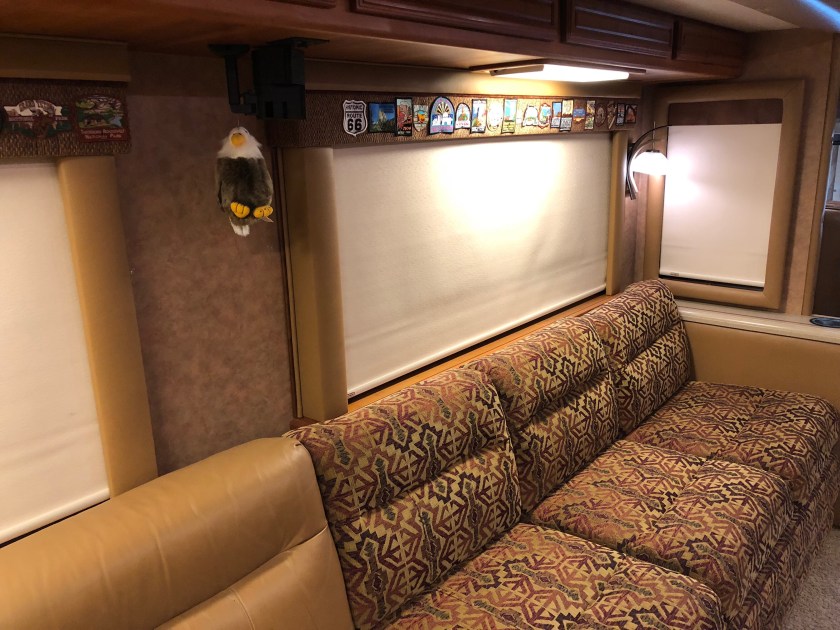
A Living Room Window Shade
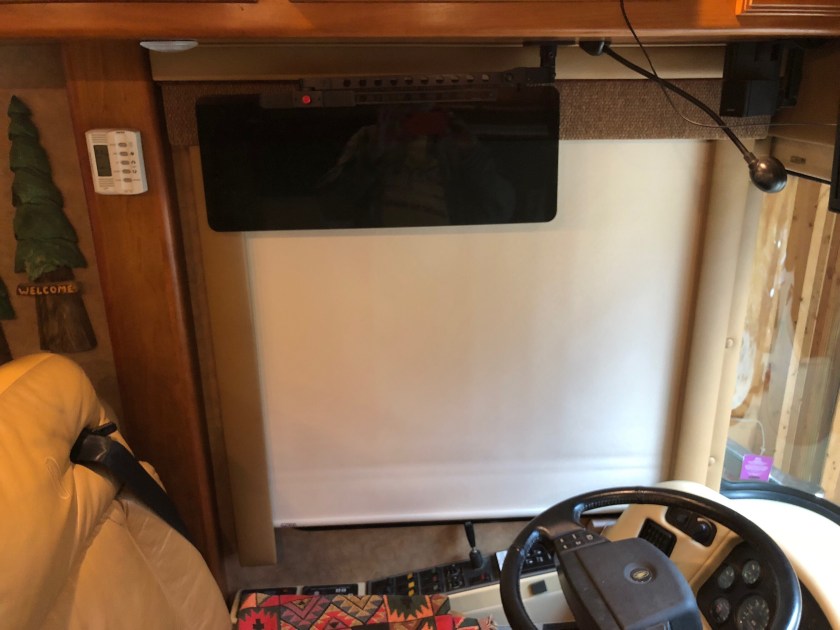
Driver’s Side Window Shade
Actual time to remove the pleated shades and install the MCD shades was pretty close to 8 hours but it was spread out over several parts. Practice really speeds things up. The first windows maybe took two hours each. By the last windows we were down to about 30 minutes each. Making the vertical trim additions added about an hour and the new slide window frames maybe three or four hours.
We are especially looking forward to the daytime sun shades. Privacy, sun blocking and they will allow the breeze to come through. Worth doing? We think so, we did the windshield shades about four years ago and they have been perfect for us.
These projects make life in the coach better for us. That is the only reason we do them.
More Later, Much Love,
Roger and Susan
