
I took the coach up to Cummins in Shoreview at the end of June for regular maintenance, oil and filters and a transmission service and to have them check a few other things.
This is an exerpt of what I posted on the Foretravel Owners Forum. This is a story that could have turned out much worse than it did.
Last fall we had out coach serviced at Cummins. They did all the normal coach service including checking the air filter. It was OK. A couple trips after service and then in the barn for the early part of the winter. Early January had us heading to Houston to visit Rudy and then to NAC for work at Xtreme. Three weeks there and a few more days in NAC and then west to Arizona and New Mexico. We were on the road for four months.
Somewhere along the way we got a significant amount of water into the air intake, down the snorkel and into the air filter canister where the air filter got wet.
In four months we only drove in the rain one day, from Prescott to Parker, AZ on Feb 28. There was a really big storm, lots of rain and wind heading south from Prescott, same heading west towards Parker. The other way, north, west and then south had lots of snow, 20″ at the Grand Canyon.
Well, the result of this was that the wet air filter failed and air filtration to the engine was compromised. After leaving Parker we went to the Grand Canyon. I noticed for the first time ever that there was some oil spatter on the Jeep and the back end of the coach. There was oil coming out of the breather tube hanging down on the right side of the Engine. I checked on the Forum, no hints about checking the air filter. No reason for me to check it but even if I had I think the damage had been done.
Another two thousand miles before we got home. No performance or mileage issues. I did have to add some oil. This concerned me because the coach has never used any oil at all.
The verdict at Cummins was abnormal engine wear.
So they started tearing the engine down to see how far the damage extended. Turbo, charge air cooler (CAC, this is after the turbocharger and cools the high pressure air going into the engine), valves, cam, head, pistons, cylinder sleeves, crank shaft bearings and air compressor all had some damage. Cummins recommended a high level in-frame overhaul. That means they could do the work without removing the engine. I said do it.
The Service Manager at Cummins suggested I check with my insurance company since the damage was caused by rain and water intrusion which caused the air filter to fail and all of the collateral damage. Good suggestion.
My insurance company agreed after seeing weather reports from that area on that date and the damage reports and pictures from Cummins. Comprehensive covered it as flood damage, minus my deductible. And the oil change, coolant change and transmission service were required as part of the rebuild.
So it took Cummins about three weeks to get the parts and do the work. They even replaced the engine computer (ECM) because it had water damage and was intermittently misbehaving and the fuel pump. They reused the block, the valve cover, the oil pan and the crank shaft and the injectors. Pretty much everything else is new. They ran it on their break in program on the dynomometer (about 30 min). Steam cleaned everything and painted it to look like new.
I picked it up about 10 days before we were leaving on this current trip. The ECM reported to the VMSpc 0.9 hours and 2.7 miles. 35 miles to home, 9.5 mpg on an esentially brand new motor. Amazing.
So my out of pocket will be my deductable, about what I would have paid for the service anyway. I bought a spare air filter and I will check the installed one frequently, especially after rain. I got a deflector for the air intake from John Haygarth. I had several chats with the engine tech, Arvie, who has more than 30 years with Cummins. He was very deliberate about this job, he was the only one who worked on it. He saved every part to show me the wear. He was very careful inside the coach. Susan says it was very clean, even the outside of the coach. He commented every time I talked to him that the Foretravel engine access was great to work on. He showed me a couple other coaches that were not. He was especially impressed with how nice the coach looked after 15 years. They just don’t see that level of care, pride of ownership and quality on other brands.
The bottom line is check your air filter more often than you are doing now especially after a rain event or a wash down. Get an air deflector. Reports are that they extend air filter life. And make sure your insurance coverage is adequate for catastrophic events.
More than 40 forum members reported that they went out to check and then changed their air filters. At last count more than 25 had ordered John Haygarth’s air deflector. One of the great things about the forum is that we share our successes and our difficulties. This problem has not happened to any other FT owner that we know of. It really was an extraordinary event. If folks are aware, maybe it never will again.
I learned a lot about diesel engines.
Now confidence building starts over with our new engine.
I now have 27.5 hours on the engine. All is working well.
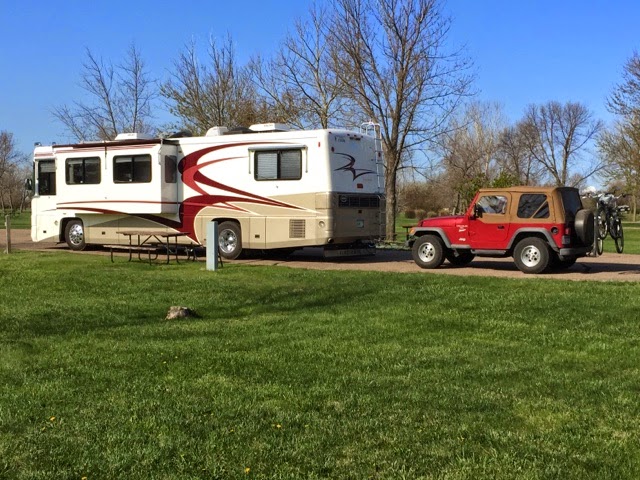
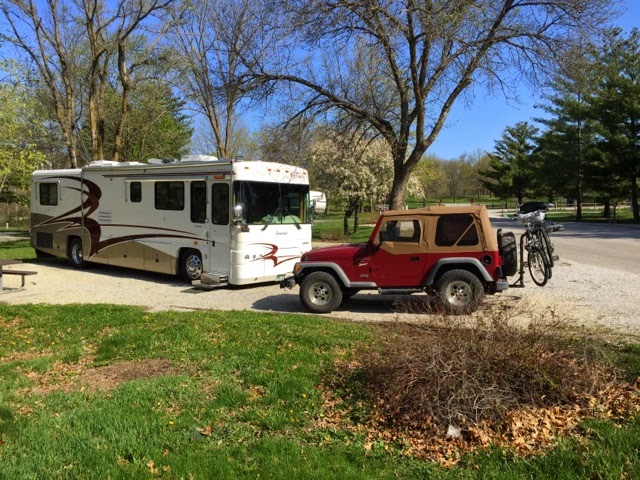
We are in Bozeman today, 8/3, getting the starter replaced on the Jeep. Another something. Better here than 20 miles off road.
Roger