Netarts Bay is about 30 miles south of Nehalem Bay, down US 101. This is a very windy narrow road, lots of hills and some of the worst pavement, dips, bumps and uneven roadway that we have seen. I am glad that we aren’t going very far on it and at the same time sorry to see it in such tough shape.
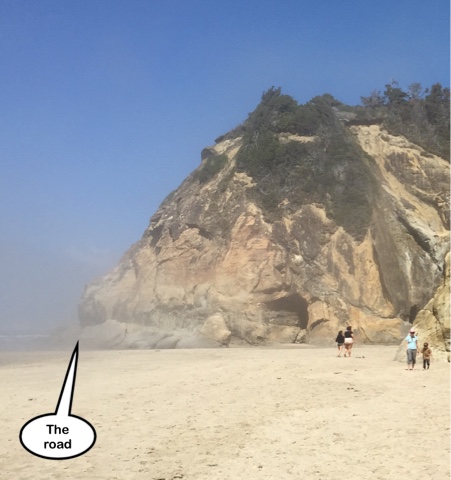
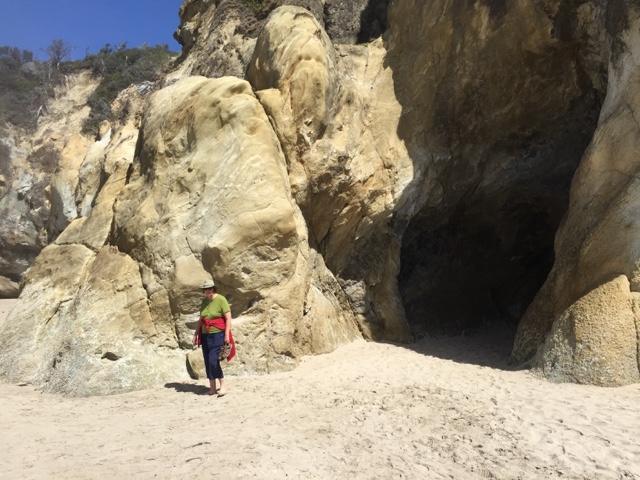
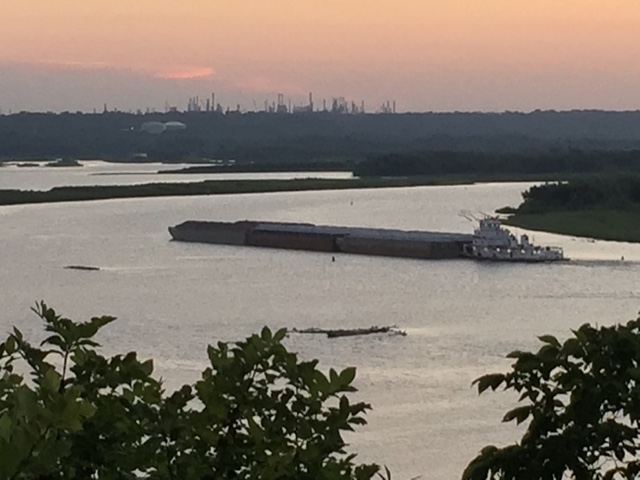
Netarts Bay is about 6 miles from Tillamook (where they make cheese). There are lots of bays along this section of coastline. It is a rugged part of the coast. On the other side of the bay towards the ocean are almost mountains.
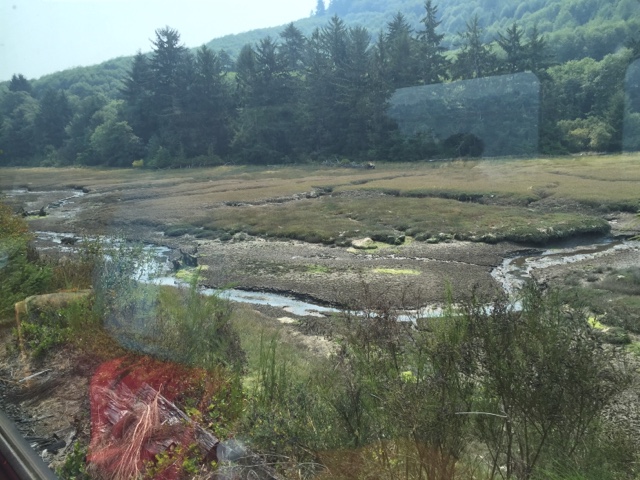
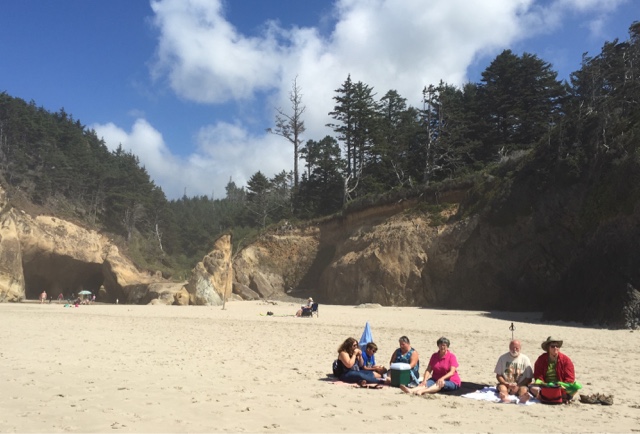
Its Oregon, its the coast, its summer, its cloudy and its rainy. Actually better than the 90s and 100s we have seen over the last couple weeks. Netarts Bay is famous for crabs and clams and oysters. The tide was out as were the clam diggers.
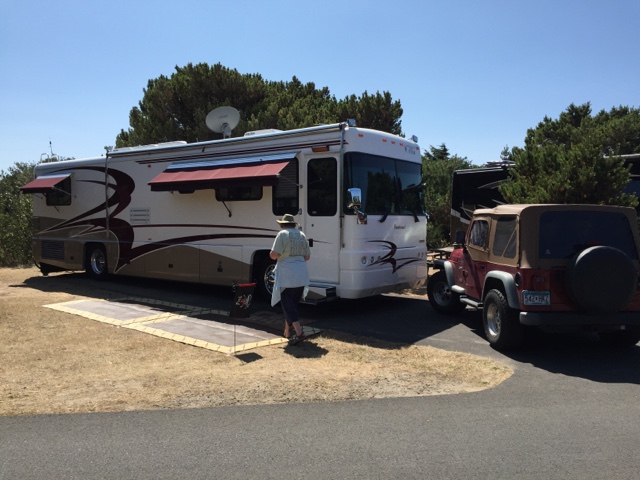
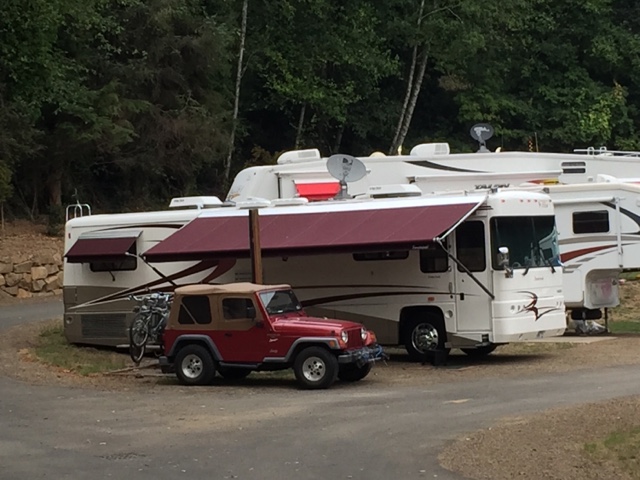
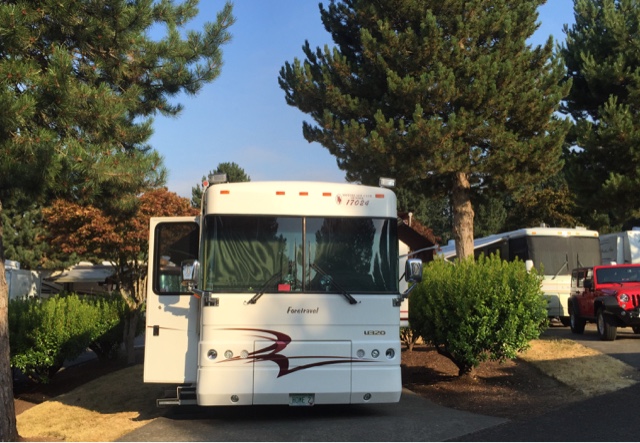
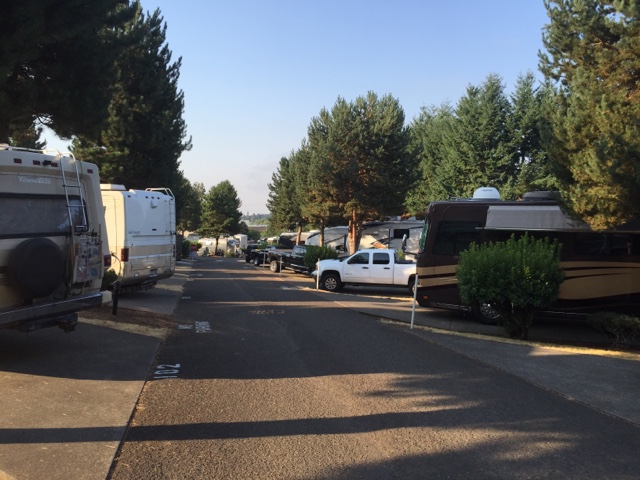
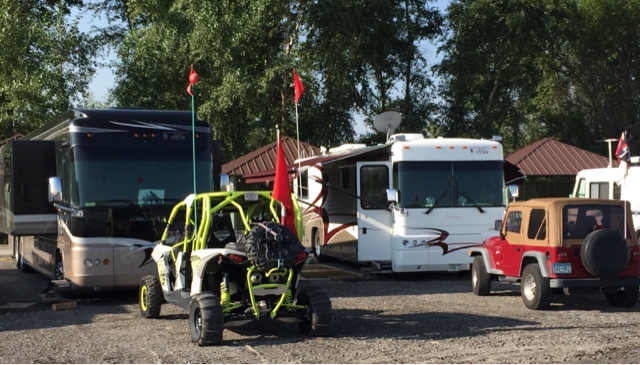
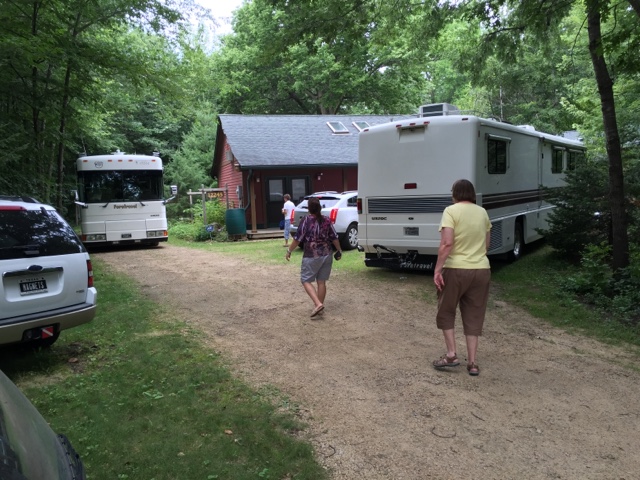
We thought Pheasant Ridge was a bit tight but this is even closer, but that is OK. We are here and there is lots to do in this area.
The guy across from us spent an hour moving in and out, a little to the right, a little more to the right trying to find just the right spot and when he was all done he still couldn’t get one of his slides all the way out. And then he was putting down wooden blocks and trying to level his coach on hydraulic jacks. It made me pretty happy to have a computer controlled air bag leveling system on our Foretravel. Push one button and the coach levels itself.
This morning (Friday) it was seriously misting so we went off in search of indoor things to do.
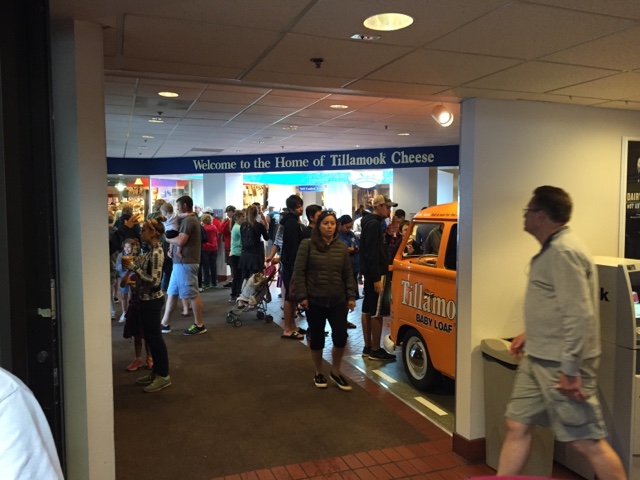
First stop the Tillamook Cheese plant for a tour, samples and what ever else there was to see and learn. Everyone else had the same idea. It was packed. Tillamook County has quite a bit of flat land along the Tillamook River where there are many dairy farms from as far back as the mid 1800s. Cheese has been made here for a very long time. The Tillamook Cheese brand is actually a co-op owned by the farmers and workers. 1.76 million pounds of milk come to the dairy every day. Every day they turn out about 176,000 pounds of cheese, mass quantities of cheese. And yogurt and ice cream too. On average cows produce 70 pounds of milk a day (isn’t that amazing!). So that is the milk from more than 25,000 cows getting milked twice a day.
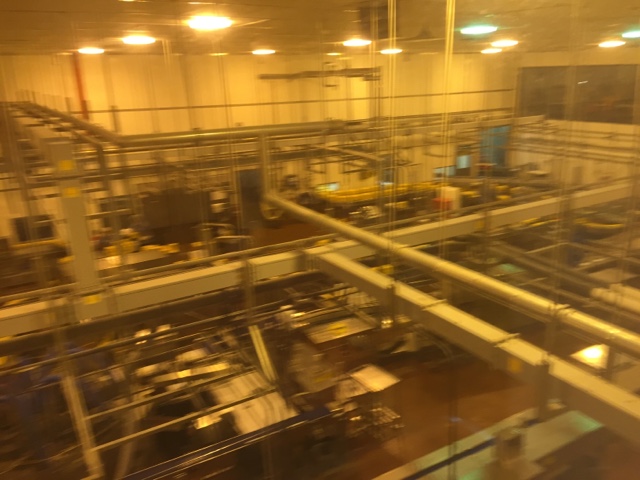
This is not a very good picture. Shot at an angle through glass, it is not focused well and the color came out odd. They were packaging one pound bricks of cheddar cheese. The cheese is made in enormous closed vats that each turn 60,000 lbs of milk into 6,000 lb of cheddar cheese three times a day. The new cheddar cheese is pressed and cut into 42 pound blocks that are wrapped and sealed in plastic and sent off for aging. In the picture above the 42 pound blocks are cut into 1 pound bricks. All the scraps go into making shredded cheese. The bricks are weighed, wrapped, sealed, boxed, the boxes go into bigger boxes. Those go into cases and then back into refrigeration for shipping.
They make many other types of cheese as well but most of it is cheddar.
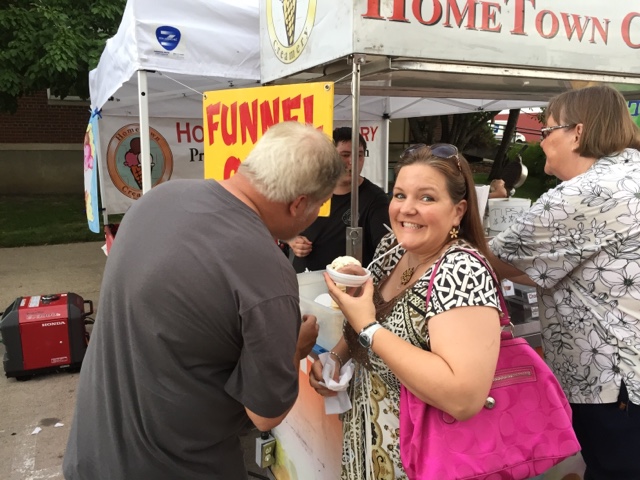
You can visit the creamery and see cheese being made. On this rainy day it was very busy. The line for free cheese samples was long. There were two places serving ice cream (not free), lines even longer. They were the biggest two scoop cones I have ever seen for about $3. Most folks got it in a bowl, about a pint.
And there was a gift shop where you could buy cheese of course and all sorts of cheese, Oregon coast and Tillamook related things.
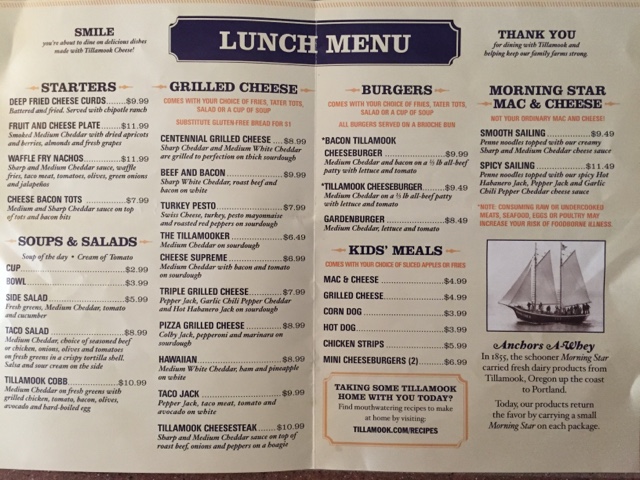
And a cafe for breakfast or lunch. The line was long but moving steadily. It was still raining. So we had lunch there.
We had to laugh. The menu was almost all things with cheese.
Cheese curds, tatter tots with cheese, mac and cheese, grilled cheese, cheese burgers, cheese soup. Oh ya, it was a cheese factory.
Lunch was big and tasty.
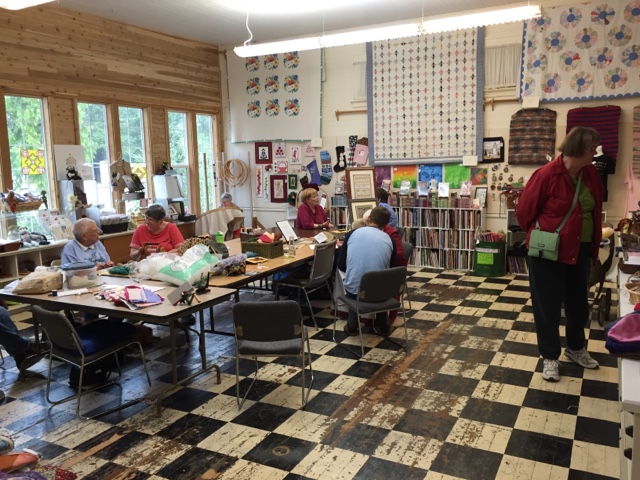
Next stop was the Latimer Quilt and Textile Center. This is a local center that promotes quilting and textile craft. There ware many items on display and for sale as well as supplies. It was in the old Maple Leaf school house that was built in 1892 and used until 1958.
One big room had many folks working on quilts and other projects. Lots of chatter too. One lady was spinning yarn. There were quilts on display, some for sale and drawers of things that had been collected over time. One drawer had items from one lady’s sewing basket from the late 1800s.
Another room had a display of baskets made by a local person. Some were woven from grasses, some from bark, some from very thin pieces of wood, all very nice.
The third room was full of looms. There were two of particular interest, a beautiful walnut 60″ wide loom and a very warm cherry 48″ wide one. I have always thought that a loom would be a nice woodworking project. Where to put it ???
There was a driving tour of barn quilts. We followed the map and saw several, missed a few. There were barn quilts on many buildings in Tillamook. Interesting to see the different designs. We keep talking about doing one for the shop and the barn at home.
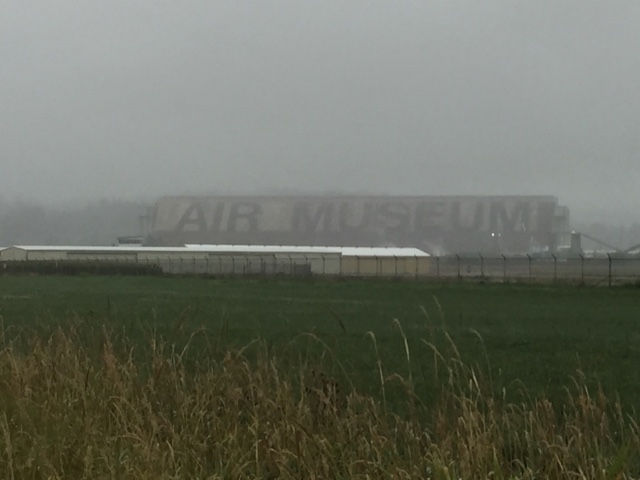
Then we went to the Tillamook Naval Air Station Museum. During WWII the Navy built giant hangers for bilmps that patrolled the coastl waters looking for submarines. They built 48 of these around the Atlantic, Gulf and Pacific coast lines. Two were in Tillamook to cover the coast from southern BC down to northern CA.
Cloudy and misty as you can see. These monster buildings we 192 feet tall, 296 ft wide and 1076 ft long. A modern day Nimitz class aircraft carrier would fit inside. During WWII they stored 7-9 blimps inside each hanger.
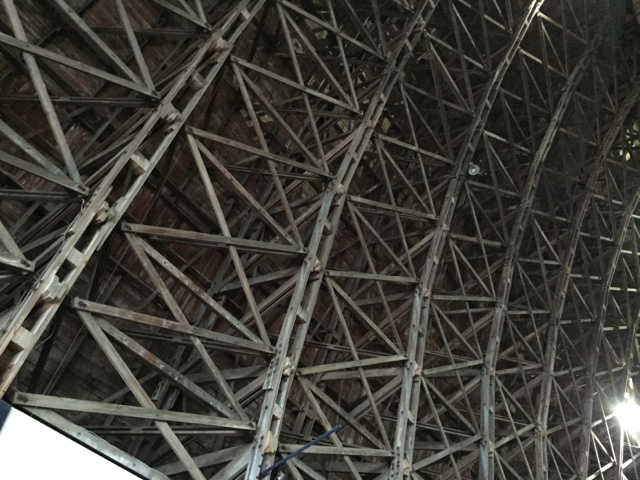
There were amazing. The giant arches that support the roof were made of wood with concrete bases. All of the wood for all of the arches for all 48 hangers came from Oregon and Washington. The arches were built flat on the ground. Two side sections and one center section were raised up by big cranes and the sections were bolted together. The first one was built in the spring mud and rain. The second one, Hanger B, was built later when the weather was better and was completed in just 27 working days.
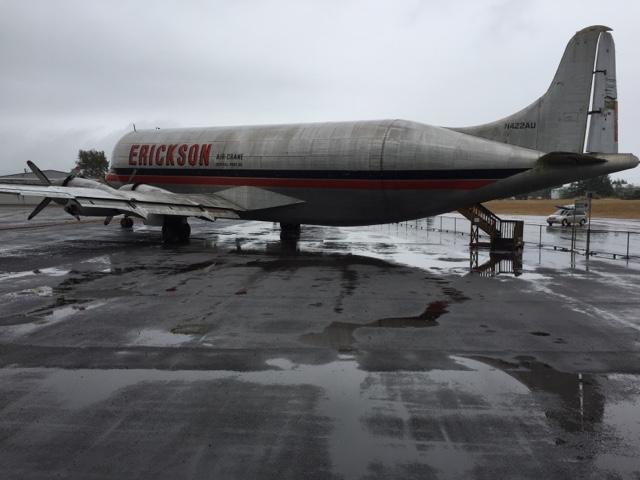
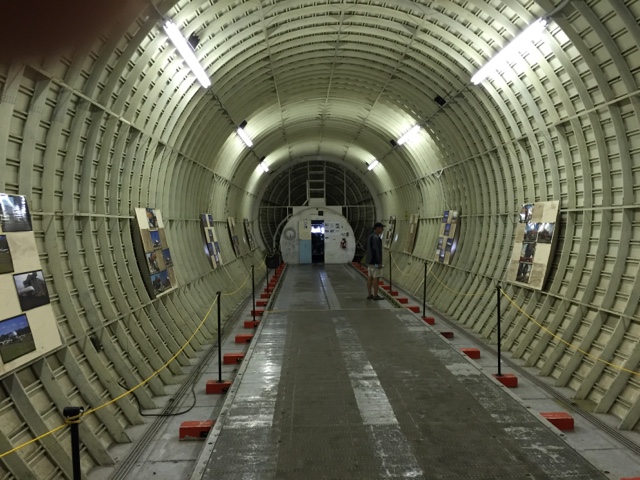
There were about 20 aircraft inside the hanger including an F14 Tomcat. Outside there was a Boeing Super Guppy. They were made from B29 bombers left over from WWII the giant bodies were retrofitted to much of the existing structure. They were originally used to carry many of the parts from the early space program and later for large cargo.
Both ends were hinged and could be opened to load the cargo.
The smaller round section in the front is the front end of the original B29. Modern cargo planes, the 747s, the C5A and two Russian behemoths are much bigger than this.
It was a good day to see all of this. Tomorrow the sun comes out.
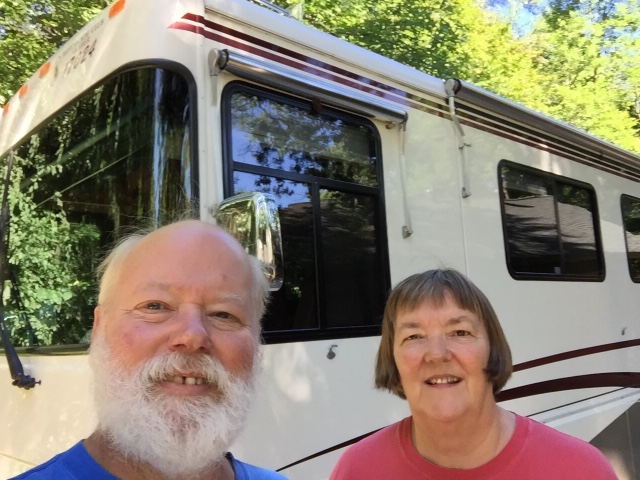
More later,
Roger and Susan